Baking Bread in a Sun Oven
One of my goals this month has been to nail down a better method (yielding a better end result) in baking bread using my sun oven. It’s not too much to ask — a browned crust and lovely bread is all I want. After searching the internet for ideas and testing them out (many thanks to Crystal over at Everyday Food Storage for the help I found on her site), I was still having trouble getting my bread to brown. *Ah hah!* After further searching I think I discovered the trick of it … I’ll show it to you!
This recipe (the same one I posted about a month ago — now merged into this post) comes from the book “The Daily Menu Planner” by Joan Day Brady. Besides just tasting good, I like this recipe for the number of loaves it makes and the fact that it’s measurements are easy to remember. Rolls are good made from this recipe too.
Makes 3 large loaves or about 3 dozen rolls
Ingredients:
1 can evaporated milk (12 oz.)
1/2 cup vegetable oil
2 TBS yeast
1/2 cup honey
1 TBS salt
5 cups whole wheat flour
5 cups white flour
Instructions:
Pour milk into mixing bowl. Fill the can twice with hot water and add to milk. Add oil, yeast, honey and salt. Mix in the whole wheat flour, mixing well after each cup to make a stiff but not dry dough. Next, add in the white flour. Knead until elastic. Let rise until double in bulk. Put into greased pans and rise again until doubled. (In a conventional oven bake at 350 for 20 minutes for rolls and 30 minutes for loaves)
Making the Dough
Thanks to Crystal, I realized that my dough had been too moist before — I needed to add more flour so that it wasn’t sticky to work with. I added 1 1/2 cups more flour in the mixer (this is on top of the 10 cups the recipe calls for) and then I turned out my dough and kneaded in probably another 1/2 cup or so.
Next, I put the dough into a large greased bowl to rise.
You’ll know whether your dough is sufficiently risen if you can put a finger (or two) into the dough and the indentation stays.
This recipe makes 3 loaves so I divided the dough into thirds. With each portion I rolled it into a rectangle and then rolled it up into a log. This helps in getting rid of any air pockets in the dough. Pinch and seal the seam.
To shape the ends I chopped each end with my hand and folded the dough up underneath. Place each log of dough into a greased bread pan.
In one of my tests I thought that perhaps spritzing the dough with water was what was keeping my bread from browning…not so. Spritz away — it’ll help your bread from drying out as it cooks.
Do not allow bread to rise — take it directly to the preheated sun oven. Also, morning sun is hotter than afternoon sun. Bake bread mid morning if you can.
So that you’re bread will brown (*this is the key*) — do not clasp the oven pegs closed. This allows the steam to escape and the bread to brown.
The loaves baked for 90 minutes. At that point I tested the bread’s temperature using my digital thermometer — opinions I read told me that the temperature needed to be 180 degrees while others said 190.
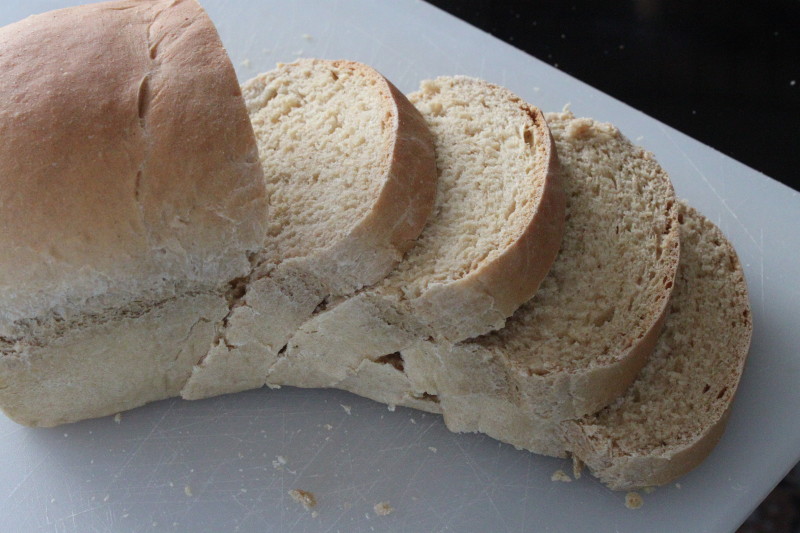
To compare, I baked the loaf on the right in my conventional oven. The two loaves on the left were baked in the sun oven. Now I’m happy!
This bread — I have to say — is some of the best I’ve ever had! Probably most of it has to do with the two week journey of finding another way to successfully bake it. It’s been worth it– I feel secure knowing I can bake bread for my family using the sun, something that will continue to be around even if electricity is not
Comments
Post a Comment